Winter is officially knocking, and with it comes frosty mornings, chunky knit sweaters, and the undeniable urge to make everything cozy and chic.
While you’re perfecting your hot cocoa recipe, let’s not forget about your nail game.
It’s time to give those moody fall colors a well-deserved break and embrace the magic of the season.
A killer winter manicure isn’t just for holiday parties; it’s your own personal snow globe, a tiny piece of winter wonderland right at your fingertips.
Let’s be real, nobody wants to be rocking a burnt orange when there’s a perfectly good blizzard of nail art opportunities waiting.
We’re aiming for that effortlessly frosty look, whether you’re showing off your nails while holding a warm mug or just admiring them during a Netflix binge.
So, ditch the pumpkins, embrace the sparkle, the cool tones, and the utterly enchanting.
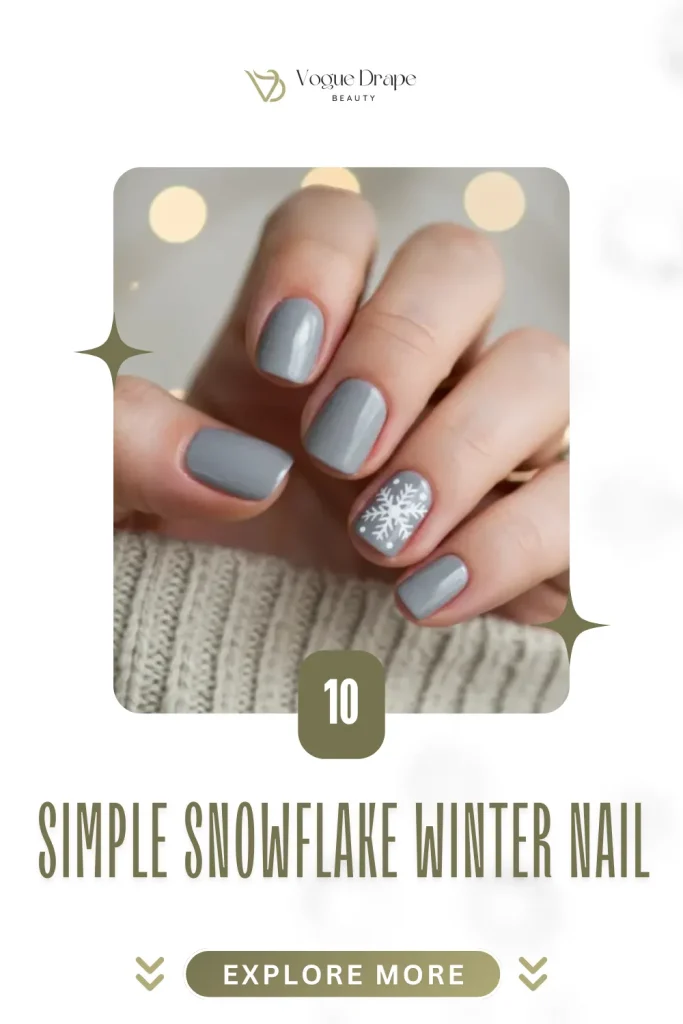
Consider these your ultimate cheat codes for creating simple, stunning snowflake nails that look like you spent hours at the salon.
We’re breaking down the easiest ways to get that intricate look without the fuss.
Get ready to elevate your Winter Nail Art this season!
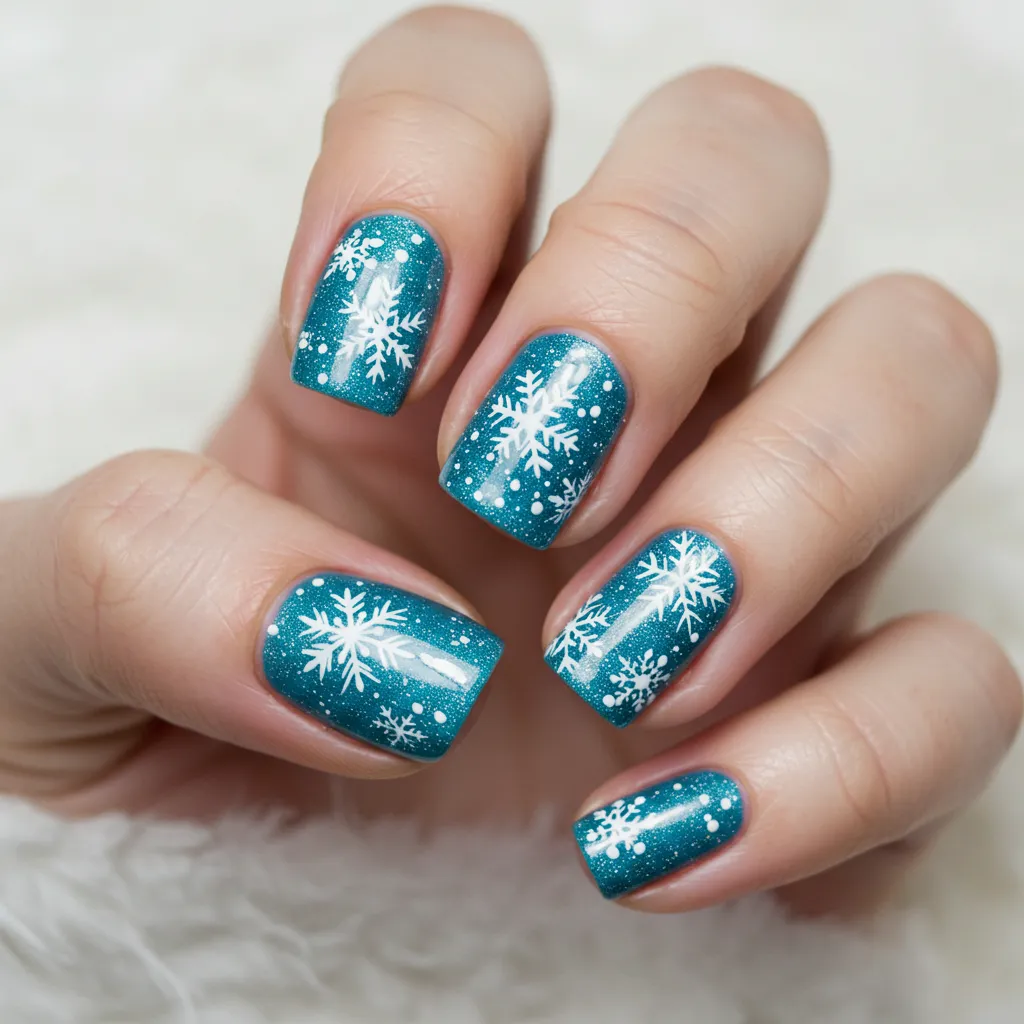
1. The Classic Winter Sky
You can’t talk winter nails without starting here.
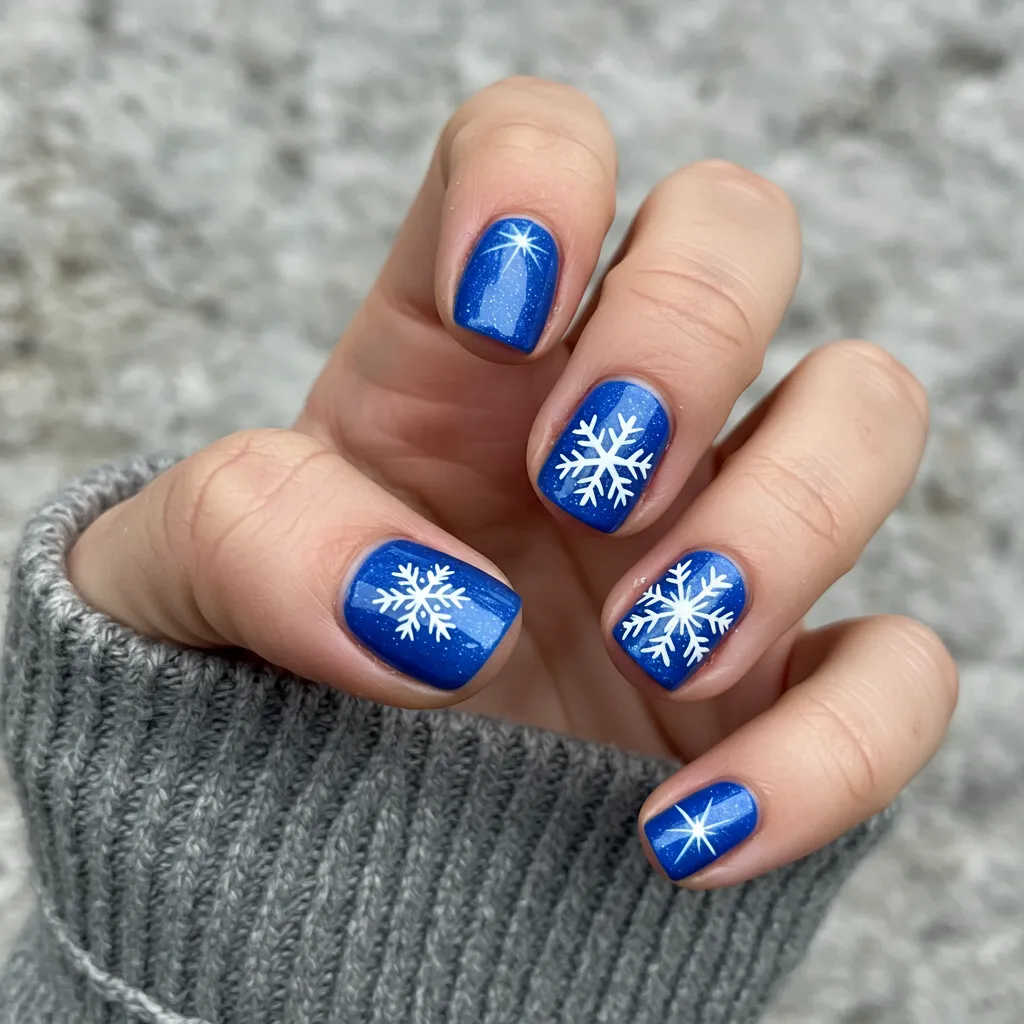
A classic, cool-toned blue base with a crisp white snowflake is the definition of winter.
It’s timeless, elegant, and surprisingly easy to pull off.
Perfect for: A universally flattering look that screams “winter classic.”
Fair Skin: A bright, icy blue base makes the white snowflake pop dramatically.
Medium Skin: A dusty, slate blue creates a sophisticated and modern backdrop.
Dark Skin: A deep, vibrant cobalt or navy blue provides a stunning, high-contrast canvas for a brilliant white snowflake.
This design is a total staple for any Simple Snowflake Nails inspiration board.
2. The Lone Wolf Snowflake
Feeling a little intimidated? Start with an accent nail.
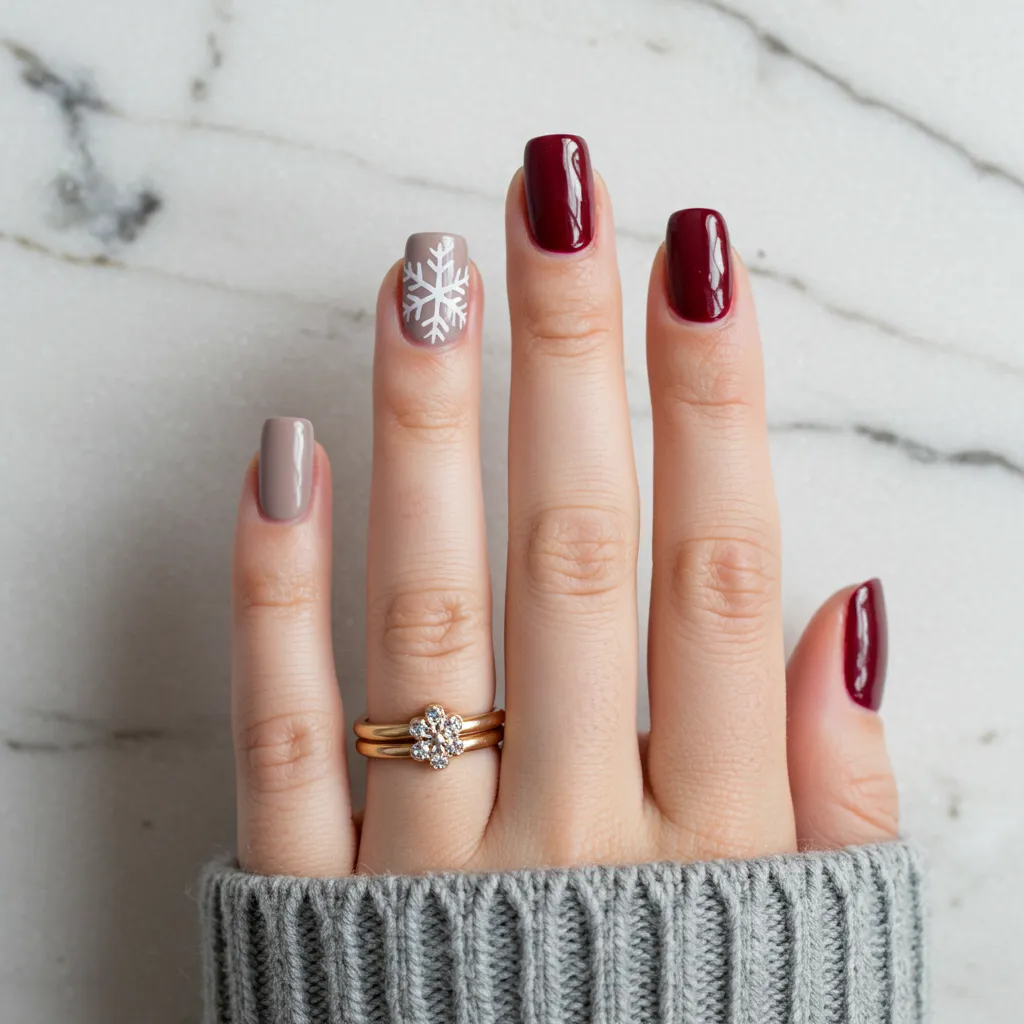
Paint most of your nails a solid, chic winter color like a deep burgundy or a soft greige and dedicate just your ring finger to a single, beautifully drawn snowflake.
Perfect for: Minimalists or first-timers dipping their toes into nail art.
It’s all the impact with a fraction of the work. This is the ultimate starter design for your DIY Winter Manicure.
3. Glitter Bomb Blizzard
Want to add some sparkle?
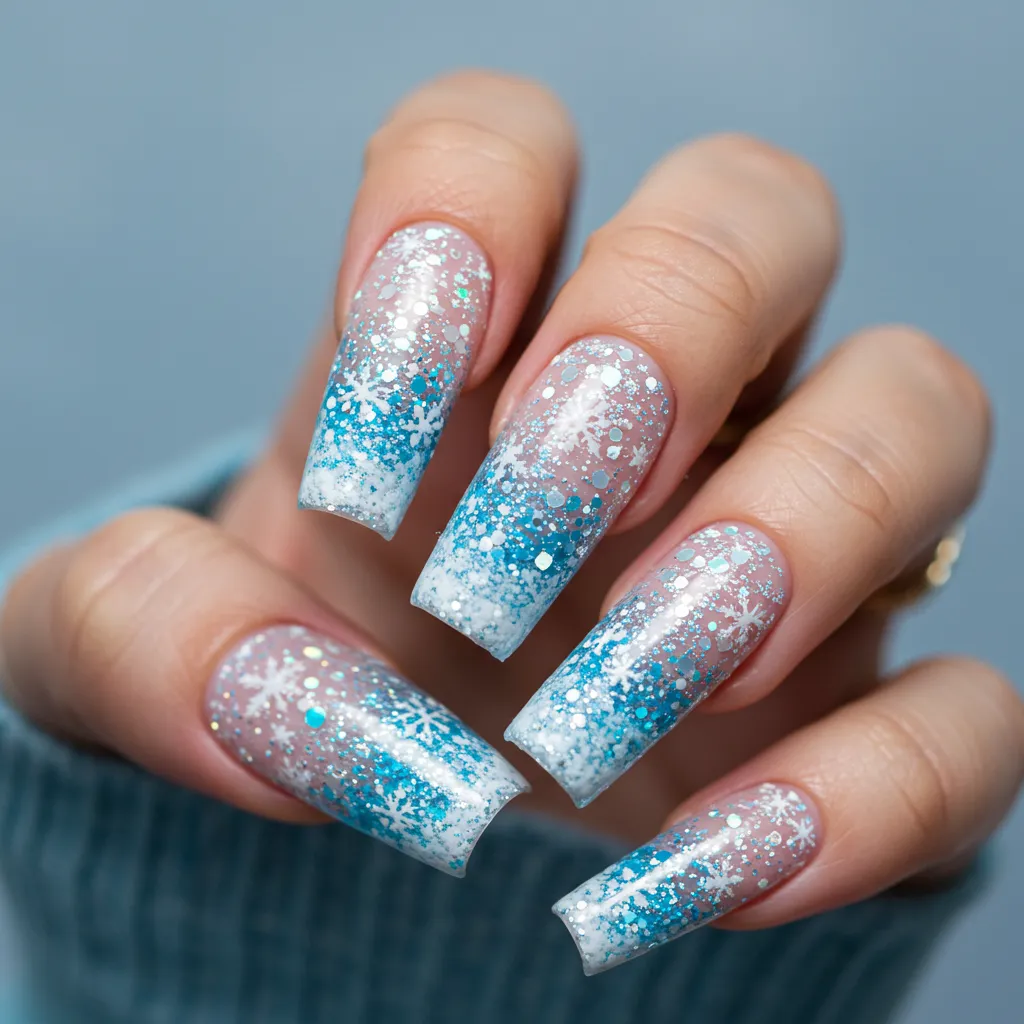
Start with a glittery silver or holographic base coat.
Once it’s dry, add a few simple white snowflakes on top.
The glitter peeking through gives the illusion of a sparkling, snowy day.
Perfect for: Adding a touch of glam to your look. It’s festive, fun, and incredibly forgiving if your snowflakes aren’t perfect. A must-try if you’re exploring Sparkly Snowflake Nail Ideas.
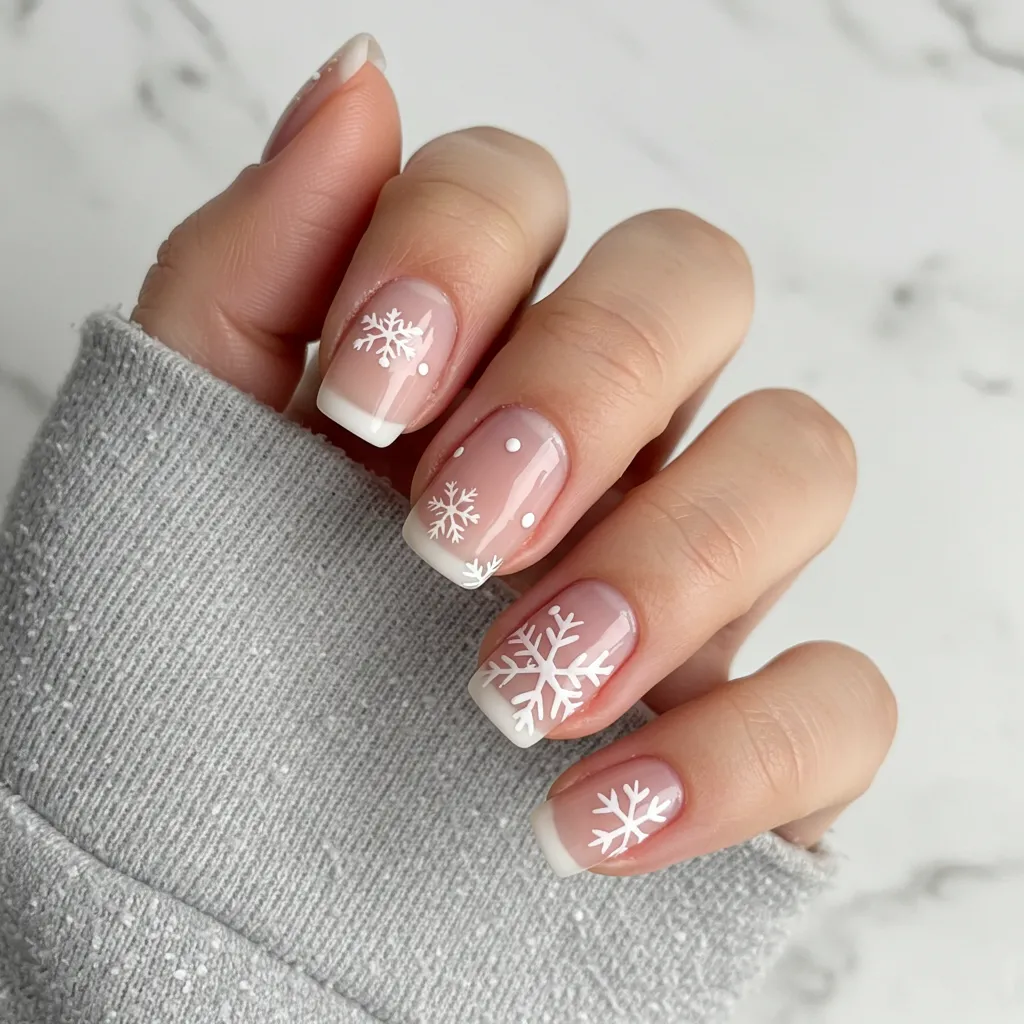
4. The Frosted French Tip
Give the classic French manicure a frosty update.

Keep the base sheer or nude, and replace the traditional white tip with a delicate snowflake design that curves along the edge of your nail.
It’s subtle, sophisticated, and unexpectedly cool.
Perfect for: A modern, office-appropriate take on winter nail art. This is a fresh twist on Snowflake Nail Art that feels super chic.
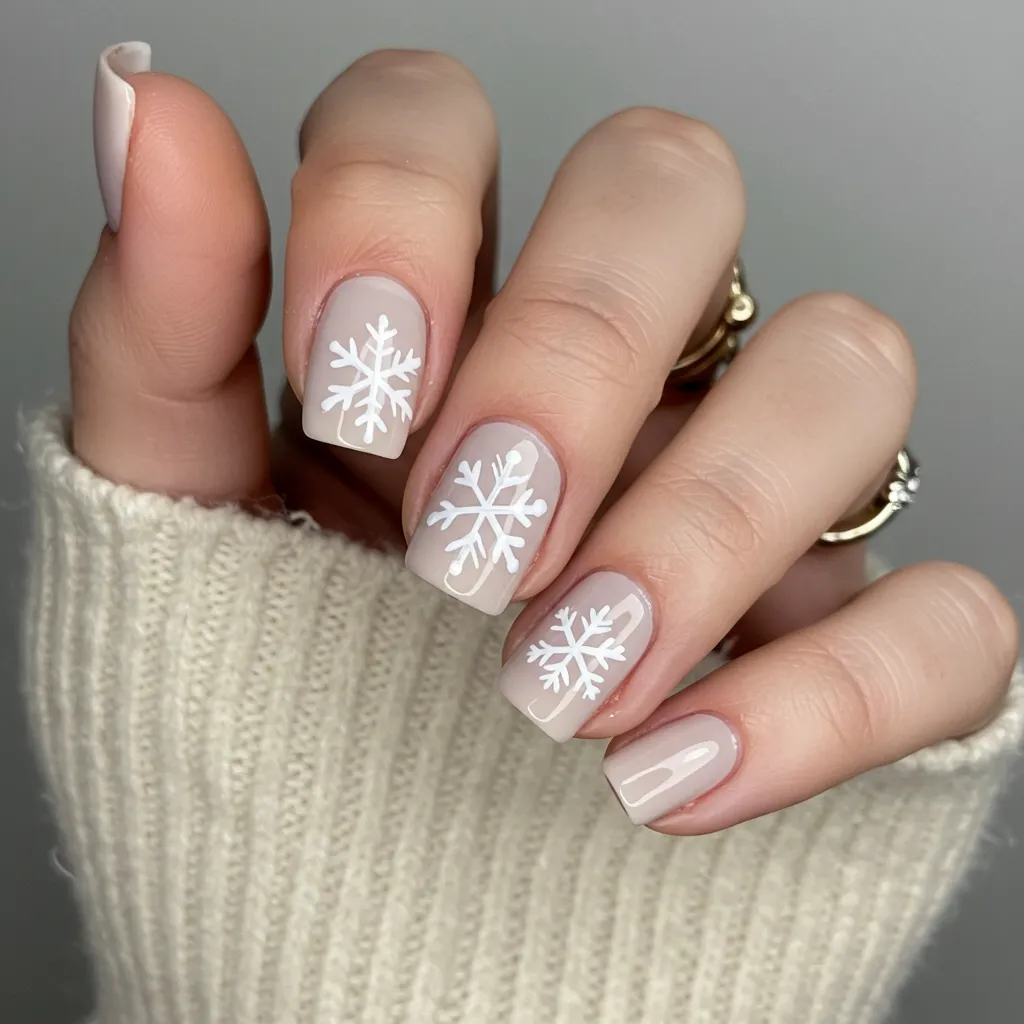
5. Negative Space Snowflakes
For the ultimate minimalist, this look is a game-changer.
Use a clear or sheer nude base coat, and draw your white snowflakes directly onto the nail.
The design feels light, airy, and incredibly modern, as if the snowflakes just landed there.
Perfect for: A trendy, understated vibe that still feels seasonal. This style is a top contender for Minimalist Winter Nails.
6. Moody Matte Snow
Transform any design by swapping your glossy top coat for a matte one.
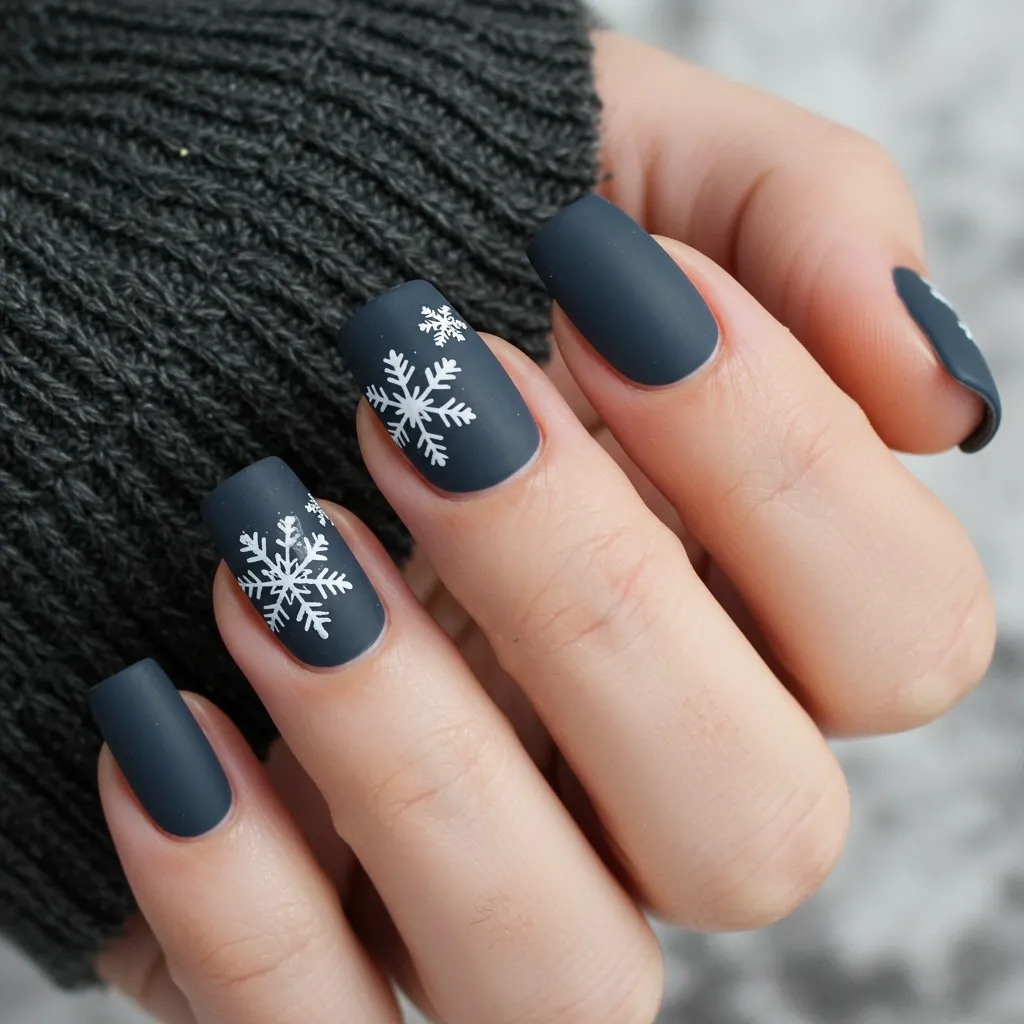
A deep navy, forest green, or even black base with matte white snowflakes creates a velvety, sophisticated finish.
It’s dramatic, edgy, and feels incredibly luxurious.
Perfect for: Those who want a less sparkly, more high-fashion winter look. A matte top coat is a simple way to elevate your Winter Nail Designs.
7. Icy Blue & Silver Duo
Move over, white!
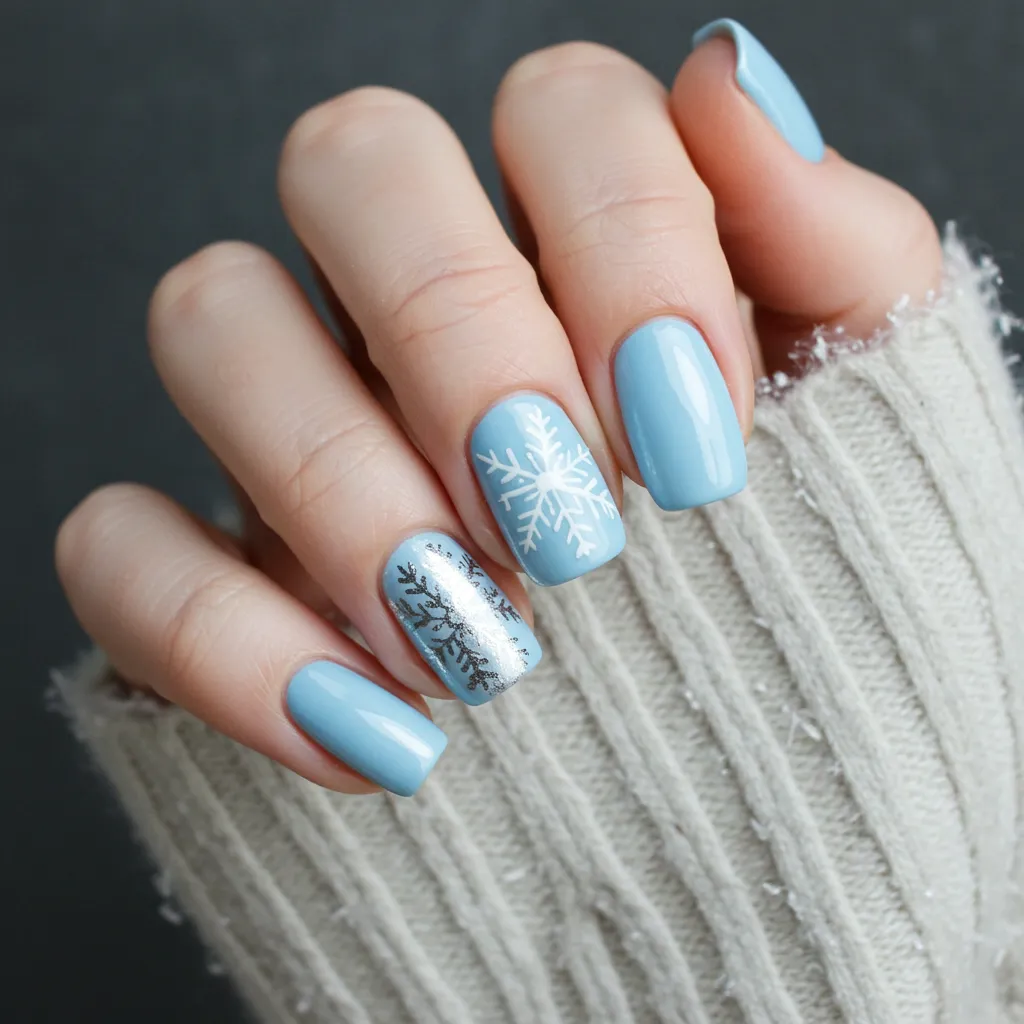
A soft baby blue base with delicate snowflakes painted in a metallic silver polish is an absolutely dreamy combination.
It’s softer and more ethereal than the classic white-on-blue, giving off major ice queen vibes.
Perfect for: A soft, romantic, and feminine winter look. This is a gorgeous option for anyone loving Blue and Silver Nail Art.
8. The First Dusting
Instead of one large, perfect snowflake, paint a few tiny, simple ones scattered across each nail.
Use a dotting tool or even a toothpick to create small, simple asterisk-like shapes.
It looks like the first delicate dusting of snow.
Perfect for: A playful and whimsical design that doesn’t require precision. It’s a fantastic choice for a quick and easy Snowflake Manicure.
9. Midnight Snowfall
Who says winter nails have to be light and bright?
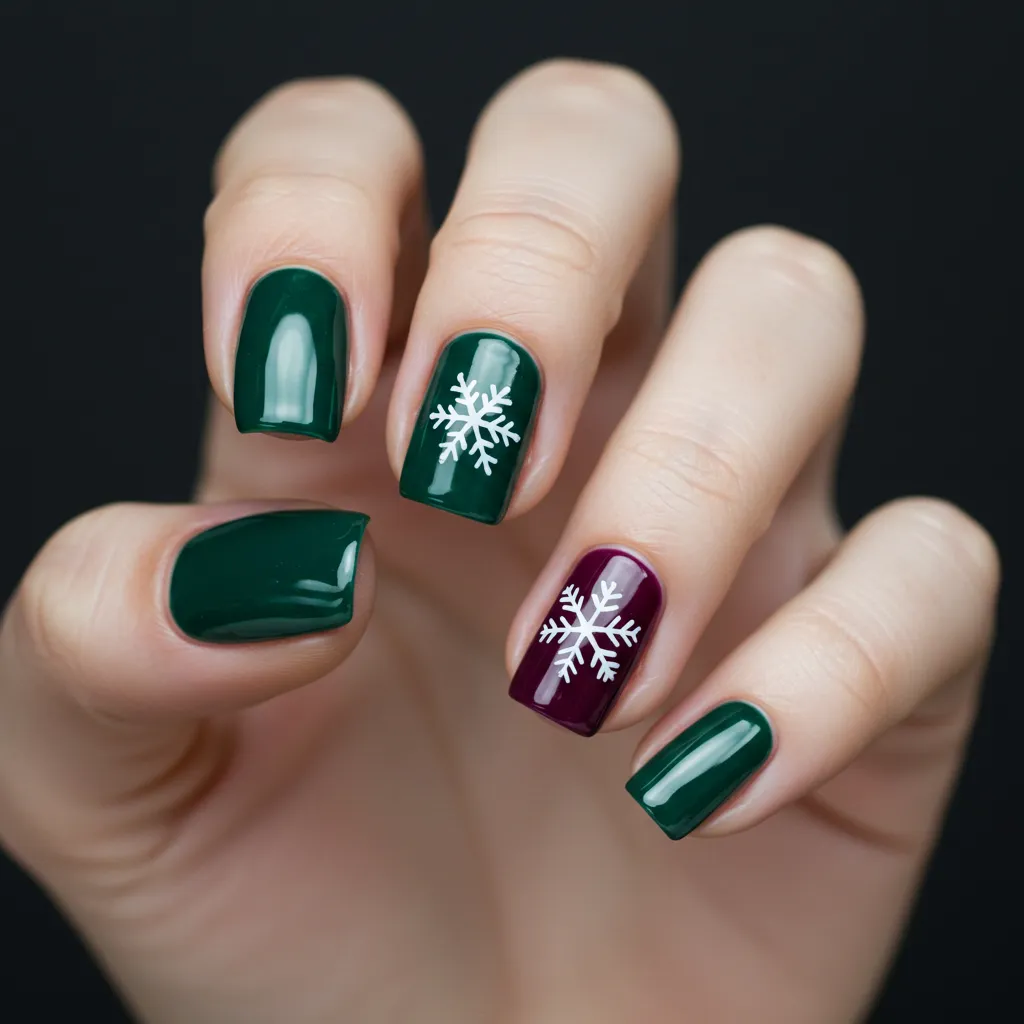
A deep, jewel-toned base like emerald green, rich plum, or crimson red with a single white or silver snowflake creates a stunning, dramatic contrast.
It’s bold, festive, and incredibly elegant.
Perfect for: Holiday parties and making a sophisticated statement. This is how you do Dark Winter Nail Colors with a festive twist.
10. The Edgy Half-Flake
This is for the cool girl who doesn’t do cutesy.
Paint a simple snowflake peeking in from the side or corner of your nail instead of placing it in the center.
It’s an asymmetrical, artistic take that feels modern and unique.
Perfect for: An edgy, fashion-forward look. It’s an unexpected and stylish way to rock Creative Snowflake Nail Art.
The Nail Art Hack You’re Totally Sleeping On
It’s not just about the design, but the tools. You don’t need a professional kit!
Use a toothpick! For super fine lines, a simple wooden toothpick is your best friend. Dip the very tip into the polish to create delicate snowflake arms.
Grab a bobby pin! Open it up, and use the rounded, plastic-coated tip as a dotting tool to create the center of your snowflake or tiny snow dots.
These little tricks are crucial DIY Nail Art Tools that are probably already in your house.
Level Up Your Manicure Game
Your art is only as good as your canvas. Don’t forget the basics!
Always use a base coat! It protects your natural nail from staining (especially with dark colors) and helps your polish adhere better.
Clean up your edges! Dip a small brush or a Q-tip in nail polish remover and carefully trace around your cuticle.
This one step makes any DIY manicure look 100% more professional.
This is a non-negotiable step in your At-Home Manicure Routine.
Involve Your Vibe: The Ultimate Buy-In
Want to guarantee you love your new nails? Let your mood be your guide!
Ask yourself what you’re feeling.
“Do I want something bold and dramatic like the Midnight Snowfall, or something subtle and chic like the Frosted French Tip?”
When you choose a design that truly matches your vibe for the week, you’ll rock it with so much more confidence.
This works wonders for Winter Nail Ideas pick what makes you feel amazing.
Wrapping It Up: Be the Snowflake Nail Hero
Okay, take a breath.
Creating gorgeous snowflake nails doesn’t have to be complicated or stressful.
With these 10 simple ideas and tips, you’re fully equipped to create a winter manicure that is not only stylish and on-trend but also totally achievable at home.
Remember, a little creativity and a few simple tools are all you need to turn your nails into a winter masterpiece.
From the Classic Winter Sky to the Edgy Half-Flake, you’ve got options for every mood and skill level.
You’re not just painting your nails; you’re embracing the season, getting creative, and giving yourself a fun little dose of self-care.
Now go get frosty you totally got this. Don’t be surprised when everyone asks which salon you went to.